Research and concept
For this project we are tasked to gather our own data and showcase it outwith the screen, this has excited me as it gives many opportunities to experiment with different materials and outcomes as the project spans over the easter break.
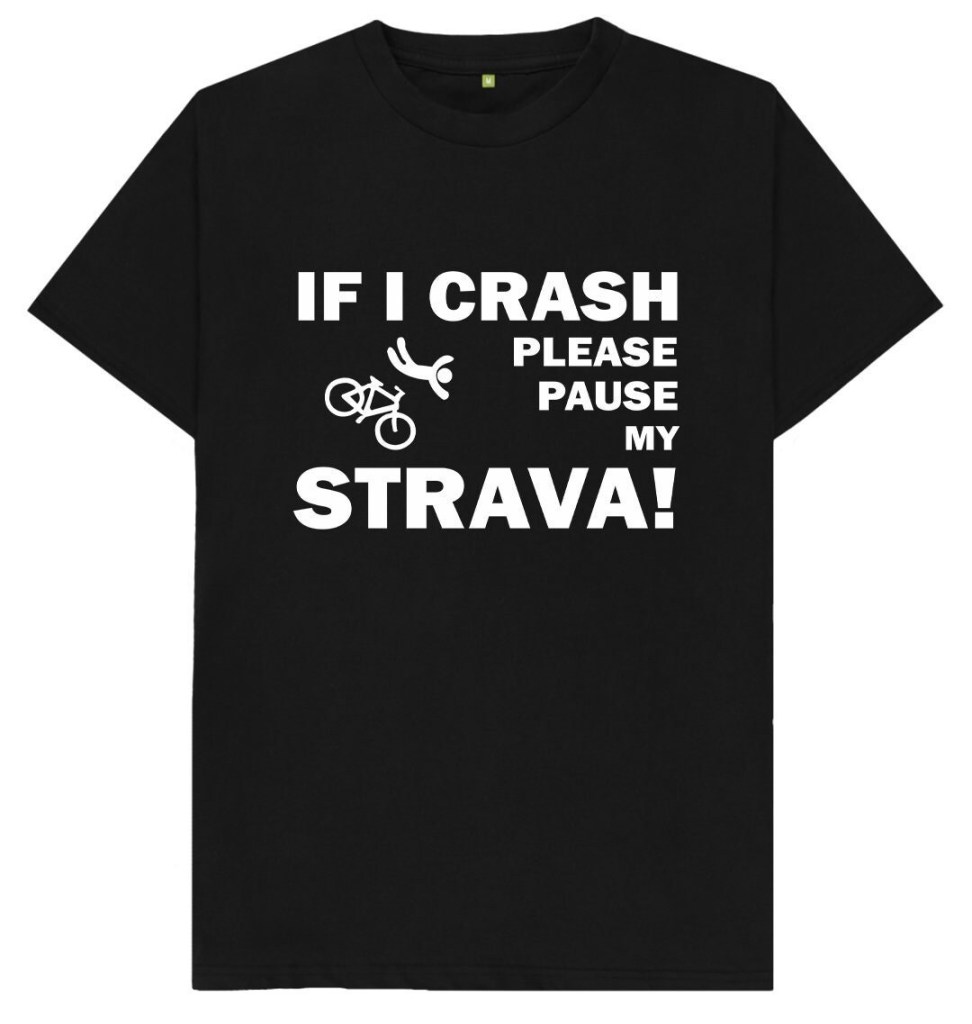
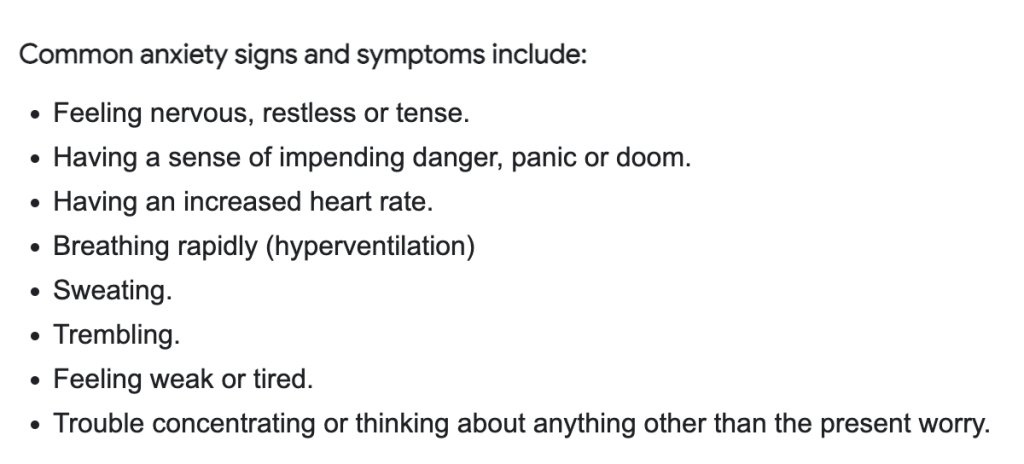
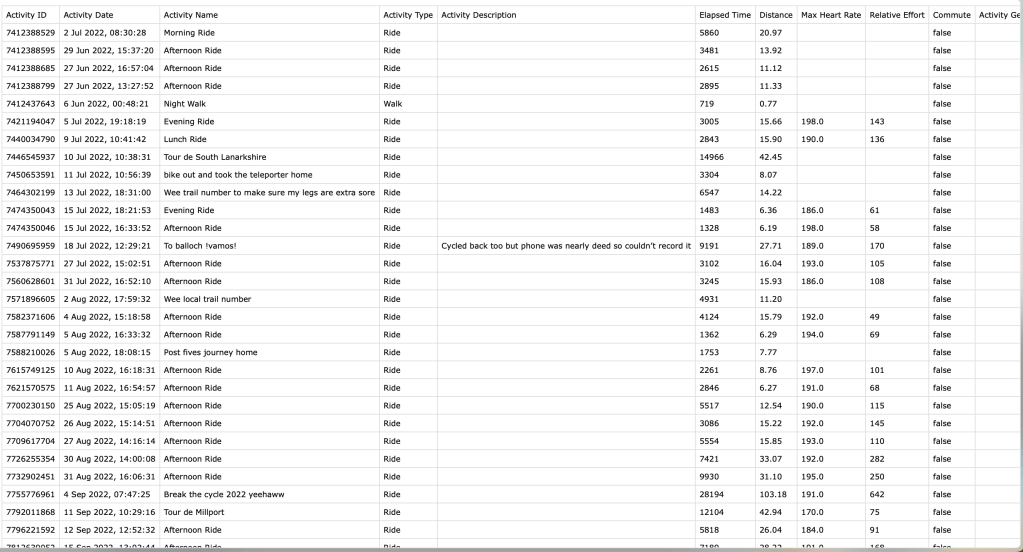
During the workshop I found the idea of owning vs owned data very interesting. As I frequently use Strava for cycling I am aware of the culture behind the app. With Strava Anxiety being a term coined by frequent users creating an unhealthy obsession in some users in which they feel the need to keep pushing themselves to get top times in their respective sport.
https://www.cyclist.co.uk/news/strava-could-create-obsessive-tendencies-research-finds
This is not something that I have personally had any experience with, however I feel it is important to bring to the attention of users.
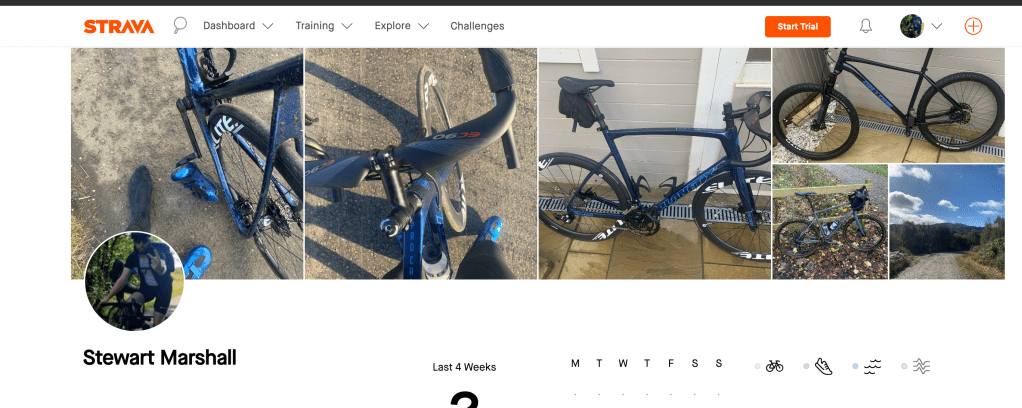
Strava is a very useful tool as it gives a great deal of information about your activity and is a good way to see where you have improved, however at its heart its another form of social media, with its own set of unique problems as it is sport focused, leading to injury and burnout. Even people having their bikes stolen as the app uses specific location data displaying it to the public, however this has since been amended with an option for users to enable a 200m safe zone where it hides their start and end location form their post
The “if its not on strava it didnt happen” culture that is in cycling is also very interesting for me as everyone is extremely willing for their data to be gathered by one specific company.
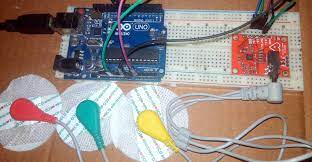
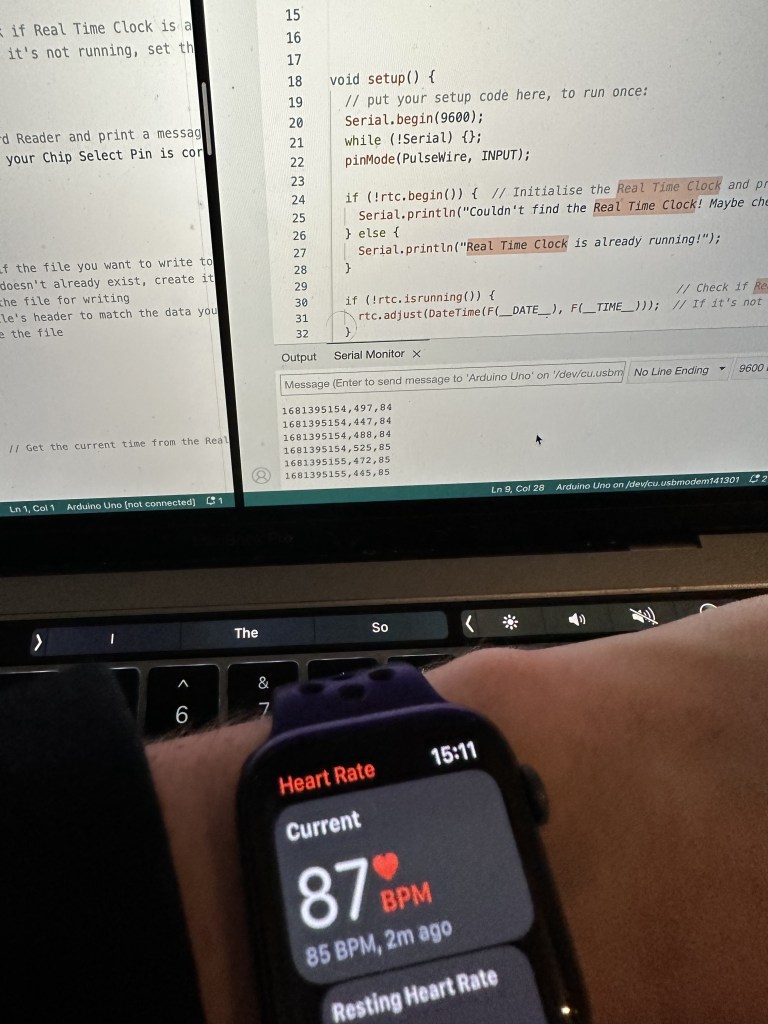
I also use my apple watch to record on strava which may not be the most accurate to measure heart-rate speed etc. on as it varies from device to device. I have an idea to record with my watch and an ACG hooked to an arduino at the same time to compare the differences. With this i can play with the amount of data strava gives you along vs the limited amount that you would be able to collect yourself
With strava providing an easy way to access this data with the catch provided you give them your data along with some features locked behind a pay wall
Experimentation with Pulse Sensors
https://www.dwbowen.com/the-journey

Focusing back into my arduino code, I have managed to get it to write BPM to the SD card so I have a backup if the ECG doesn’t work.

accuracy is defiantly something missing form this, this can be easily rectified by ensuring that the sensor is fixed before the code starts or using a button to activate.
One thing that I noticed while building the ecg circuit that has slightly unsettled me, is that the amount of warning of the danger of death while setting up the device. As of writing I am currently waiting for the final piece before i can solder.
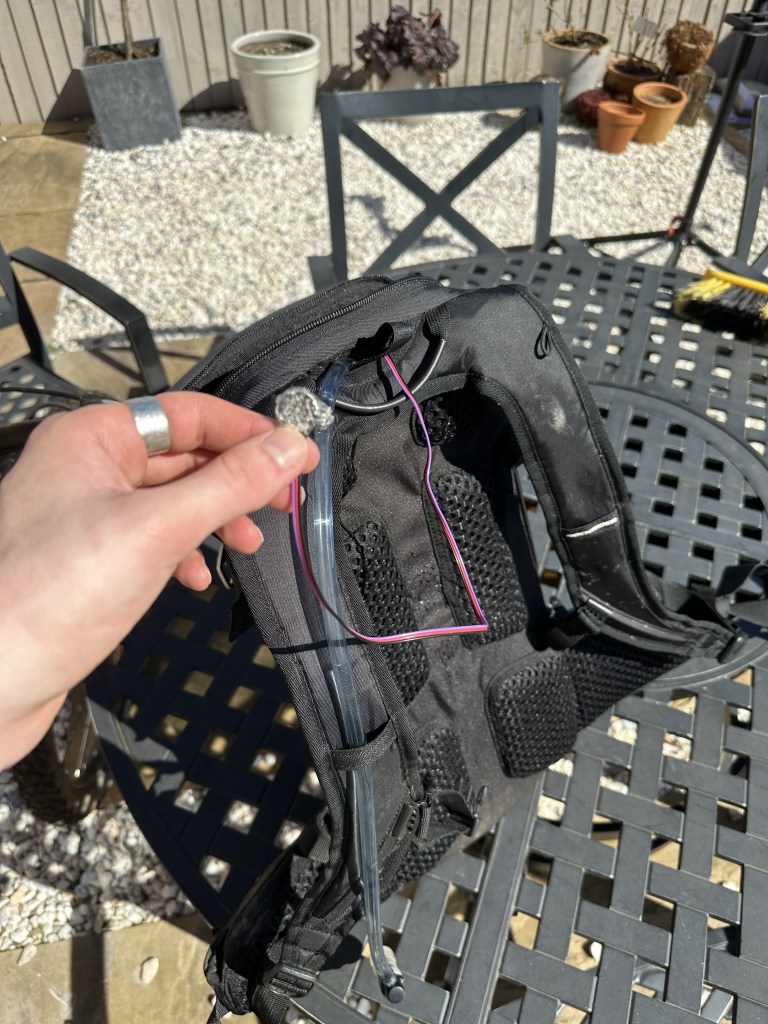
I am continuing my experiments while waiting on my other parts for my pulse sensor to arrive.
The pulse sensor seems to match up well with the sensor in the apple watch both working well with a battery and plugged in directly to the computer. Unfortunately I have been unwell for most of the break and havent had much uppertunity to gather my data as I would have liked, however once I have recovered I will start more collections.
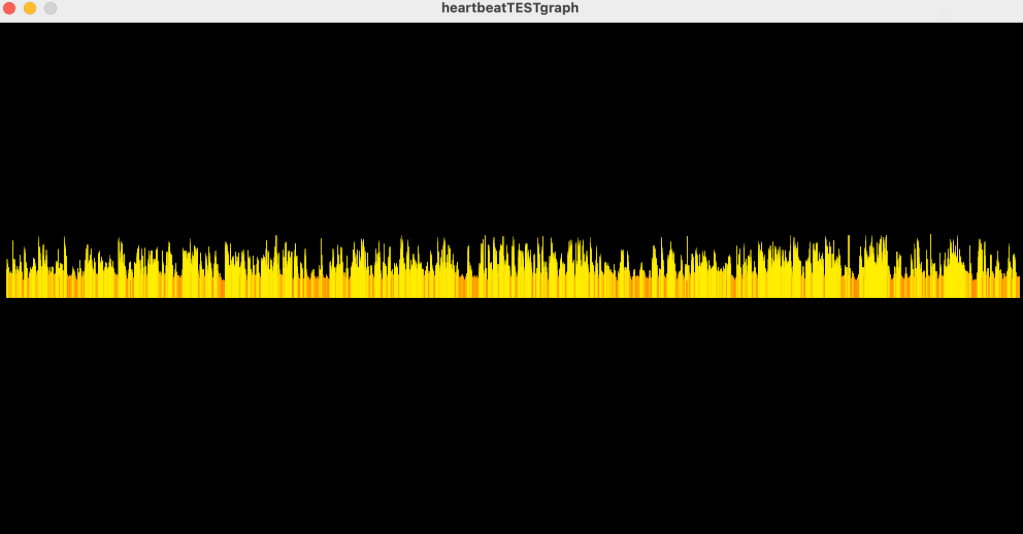
Hooking up and soldering my ecg sensor came with various success
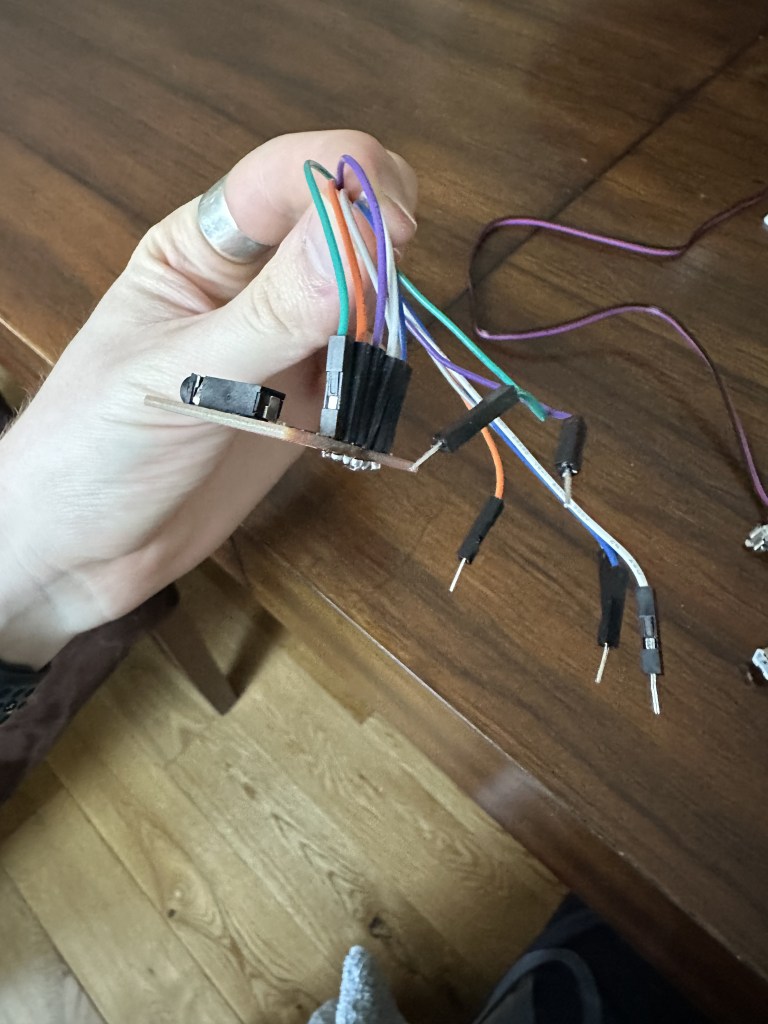
It does well detecting heartbeats via the digital and serial outputs, outputting well to the serial monitor displaying the graph. However I found it very hard to get resources to point to how to get actual BPM etc. I found some code online after some digging.
This code has some calculations to help discern BPM, I have adjusted this code so it writes to the SD card and the data records well. I have still to test it on the bike so hopefully it shows elevated BPM during efforts etc.

there is some instance of elevated heartrate however there is a lot of values that are clear misreads such as down to 10BPM which obviously did not happen.
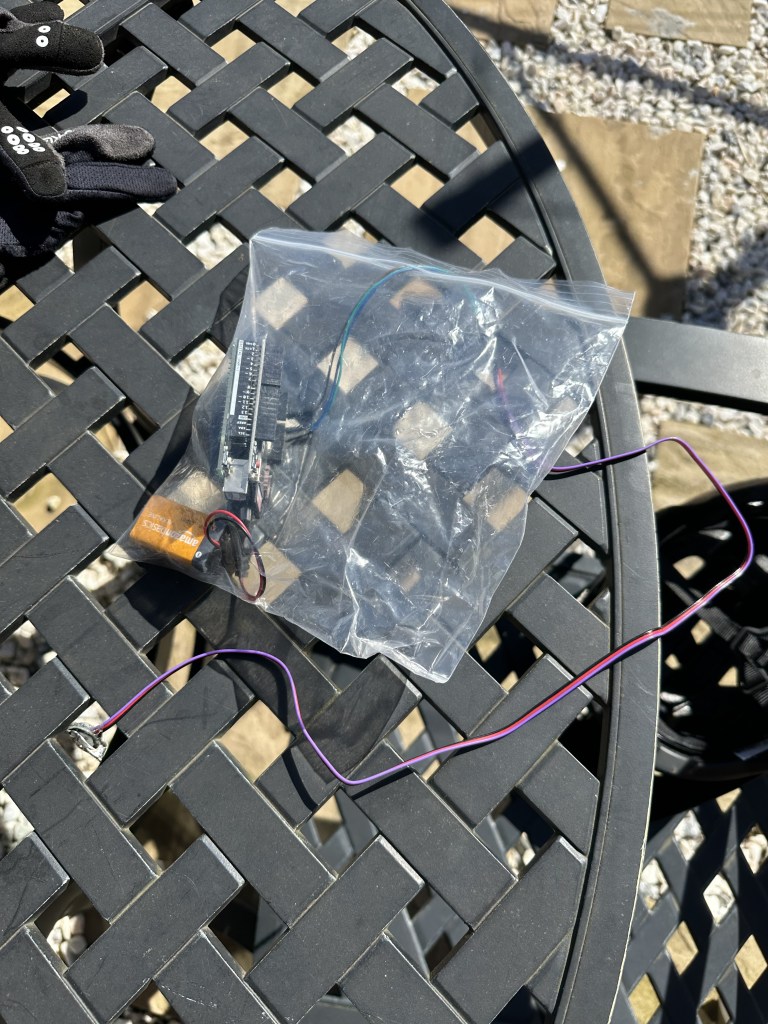

Setting up my arduino with the pulse sensor instead of the ECG to gain some data that I can use if the ECG continues to not work.
Experimenting with data vis

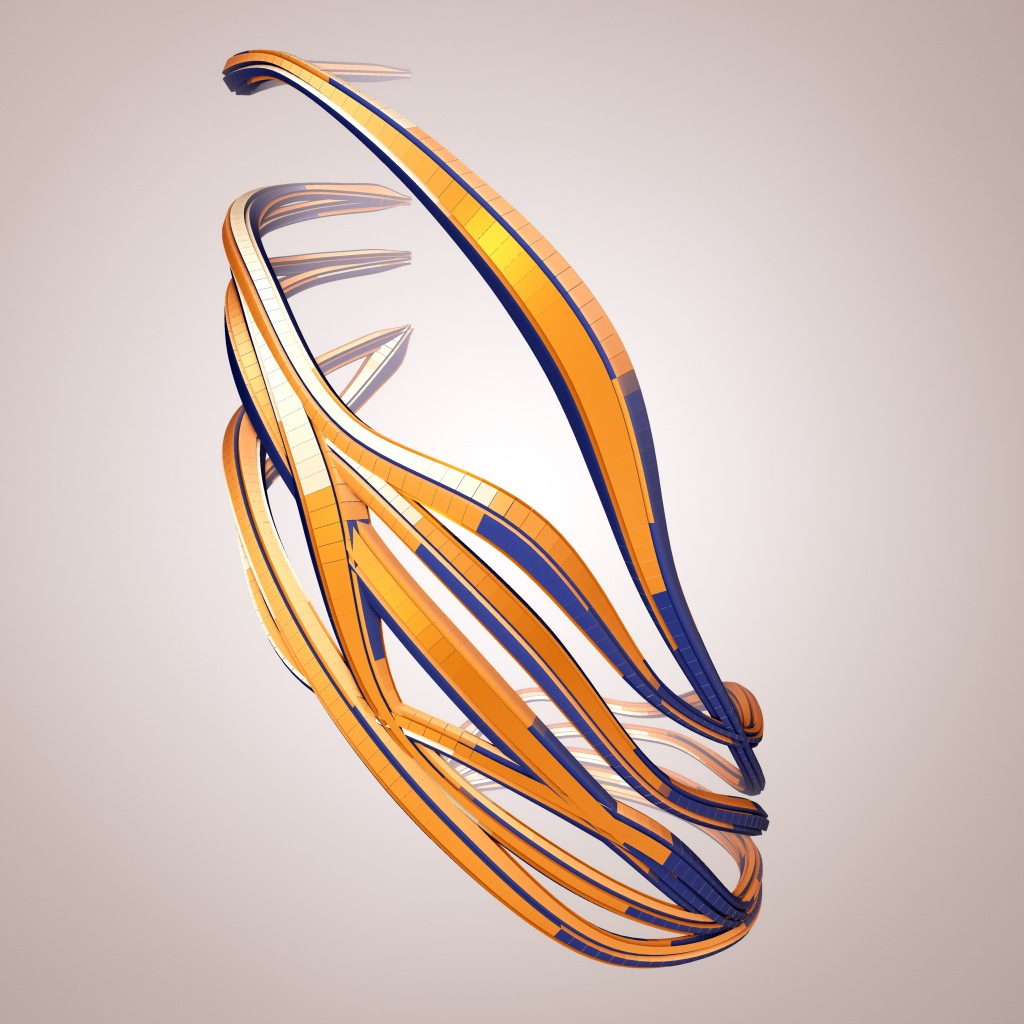


https://variable.io/fibers/?fbclid=IwAR1gfksjd6LU_EQv3QY3hnycxaYGPAMRcbknREyqwSq8niqzYLheTn4Fd3U
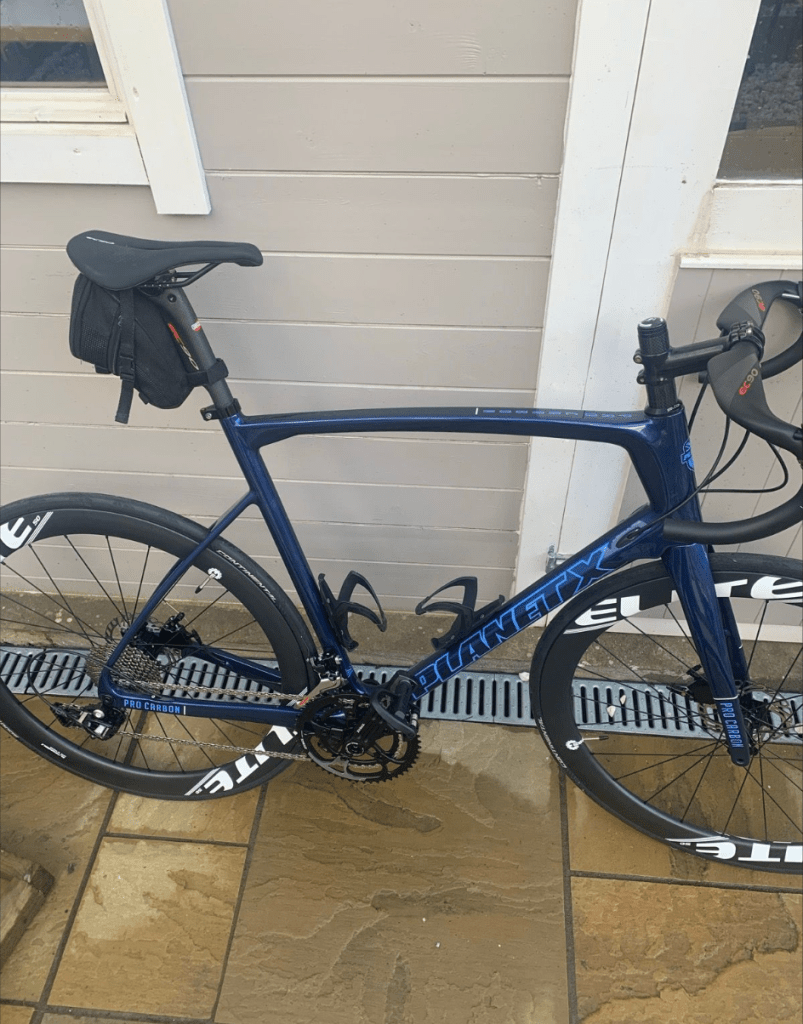
looking into various representations of heart rate and fitness data, I feel like jenny kangs work and research into our wants to connect to nature fits well with the project as it is a primarily outdoors activity and my ride that I took the data from was recorded on my mountain bike on forest trails.
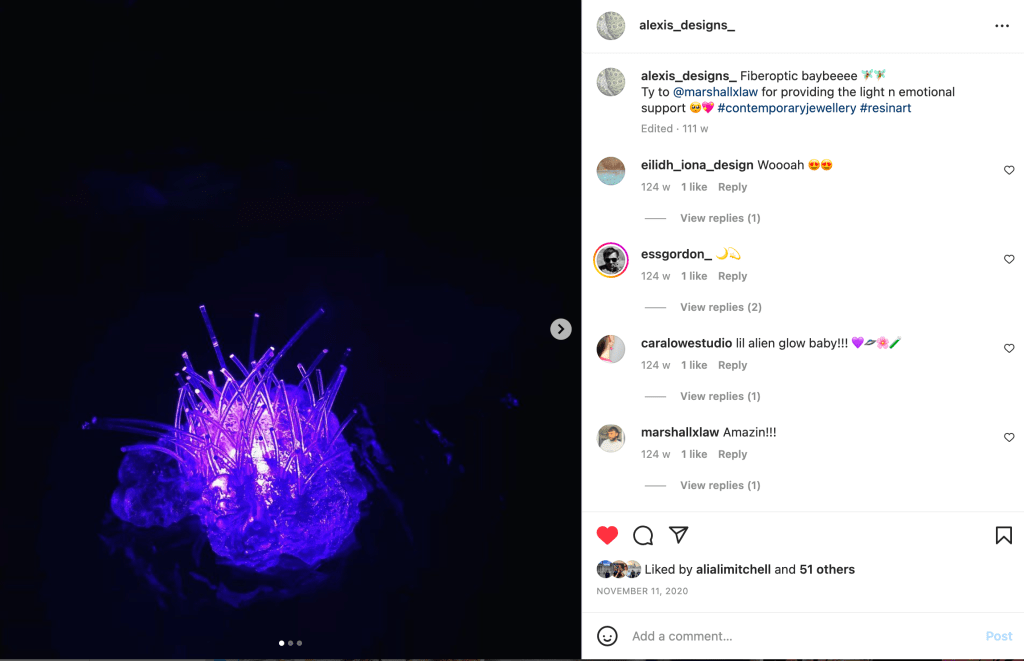
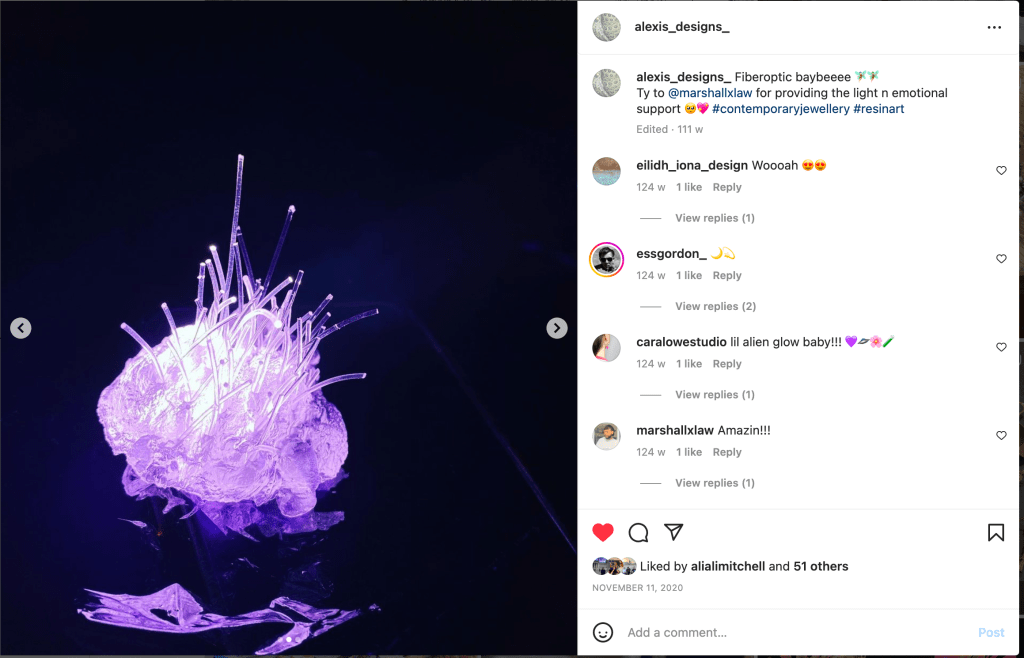
Also looking at the artist Nathalie Miebach, a data vis artist who focuses on sculpture and whos work has a particular hand crafted feel. This is something that is very much linked to this project with our condition of not having the outcome static on the screen.


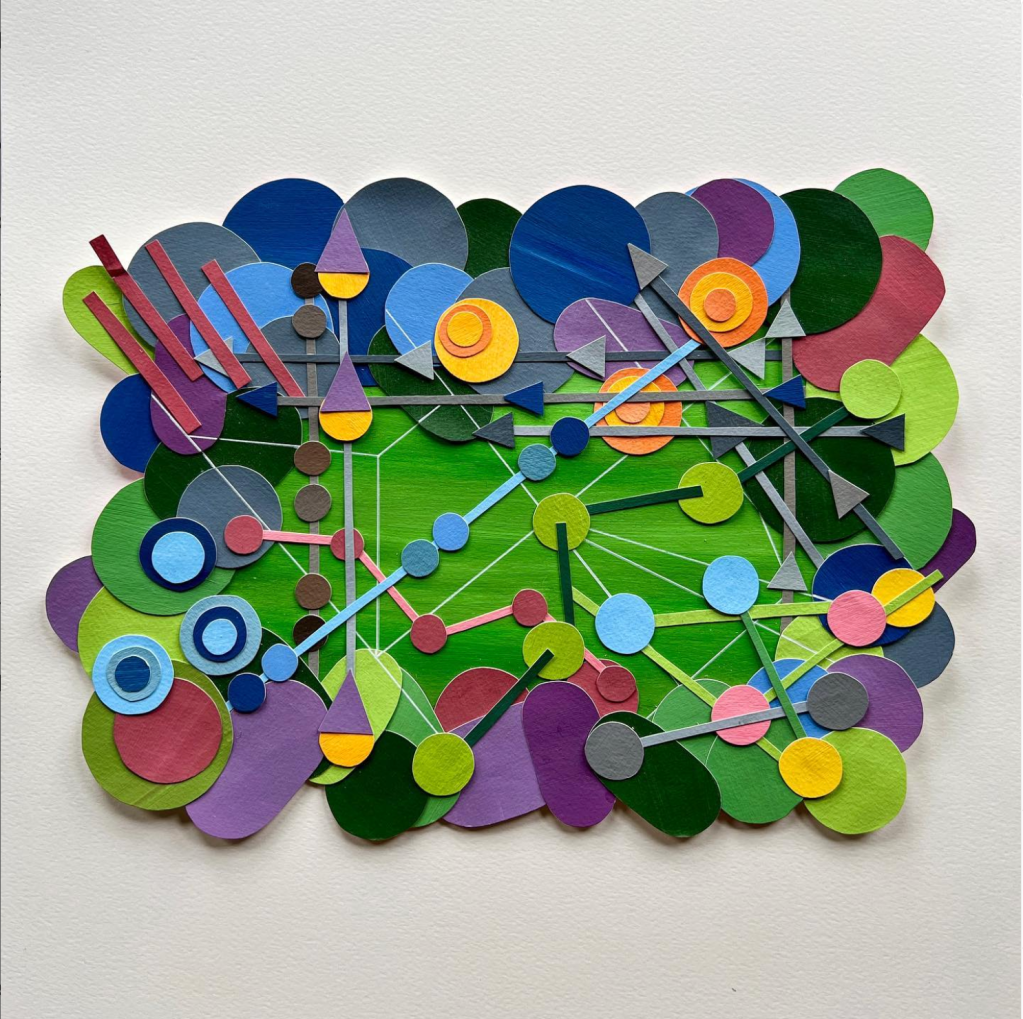
Her work is very stylised and focuses on nature, using bright colours and contrasting shapes to depict data such as weather, changes in the environment and sound.
Looking at work by Keith Sonnier who works with light combining nature and technology likening his use of light to any other artistic choice one could make such as colour or musical instrument.
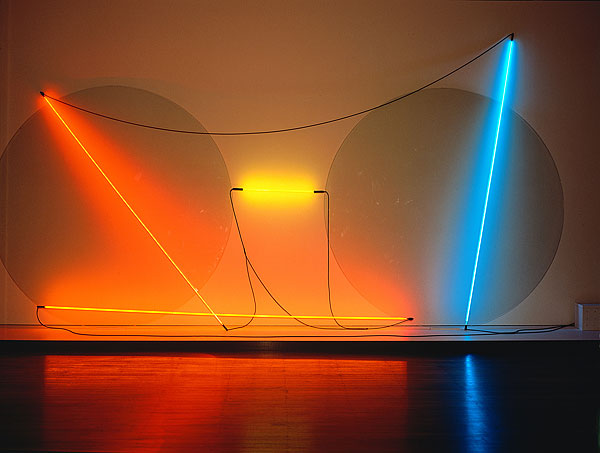

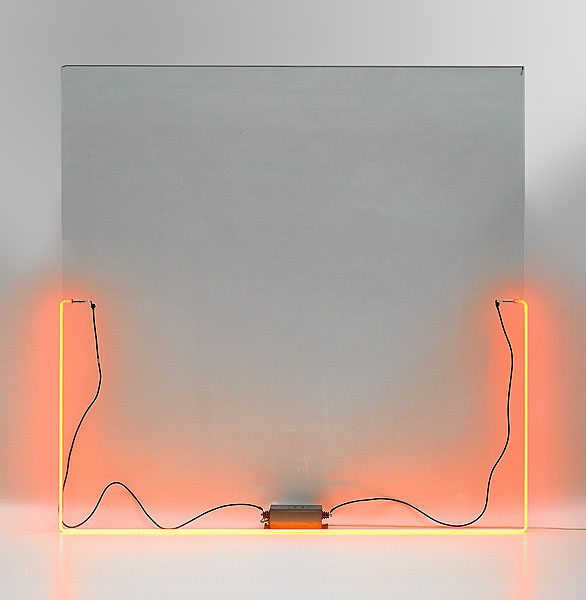
Olafur Eliasson is also another artist I looked into for this project, his works with light play with colour and perspective.
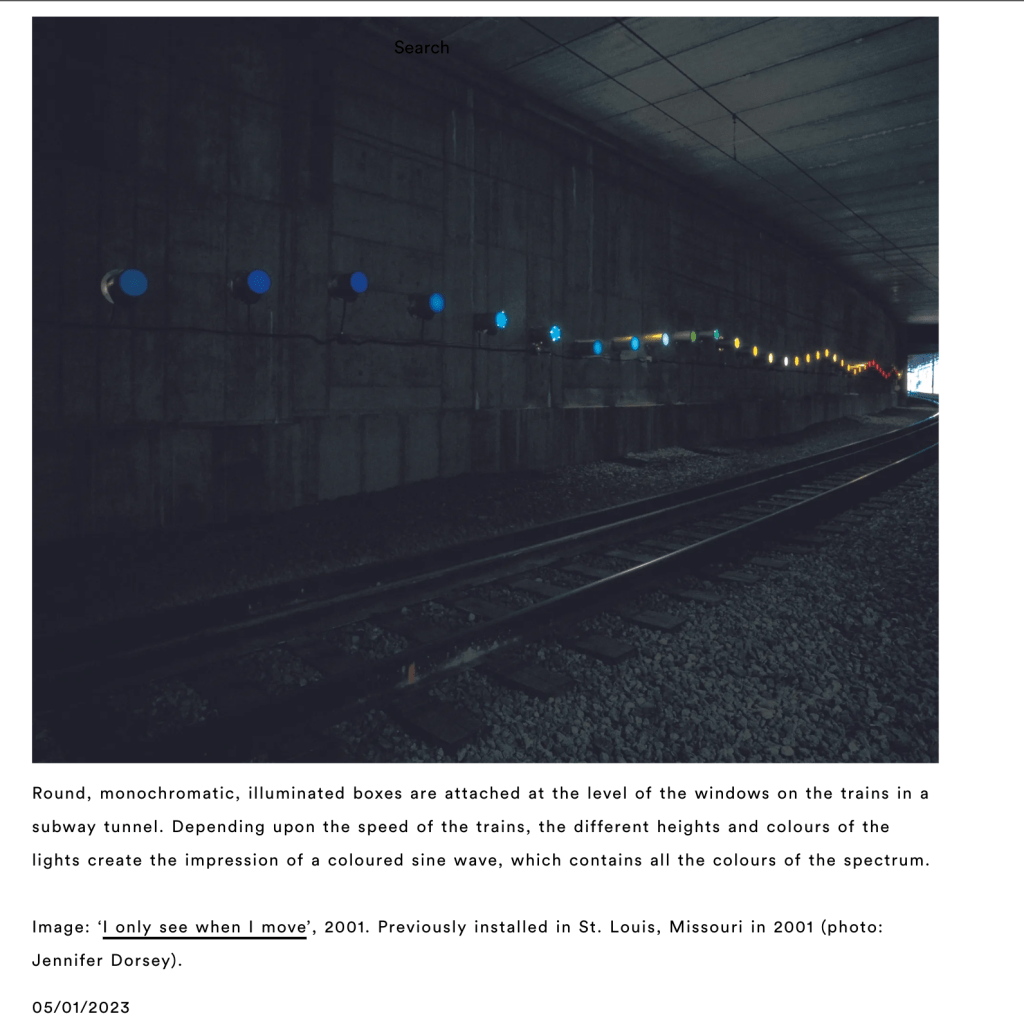

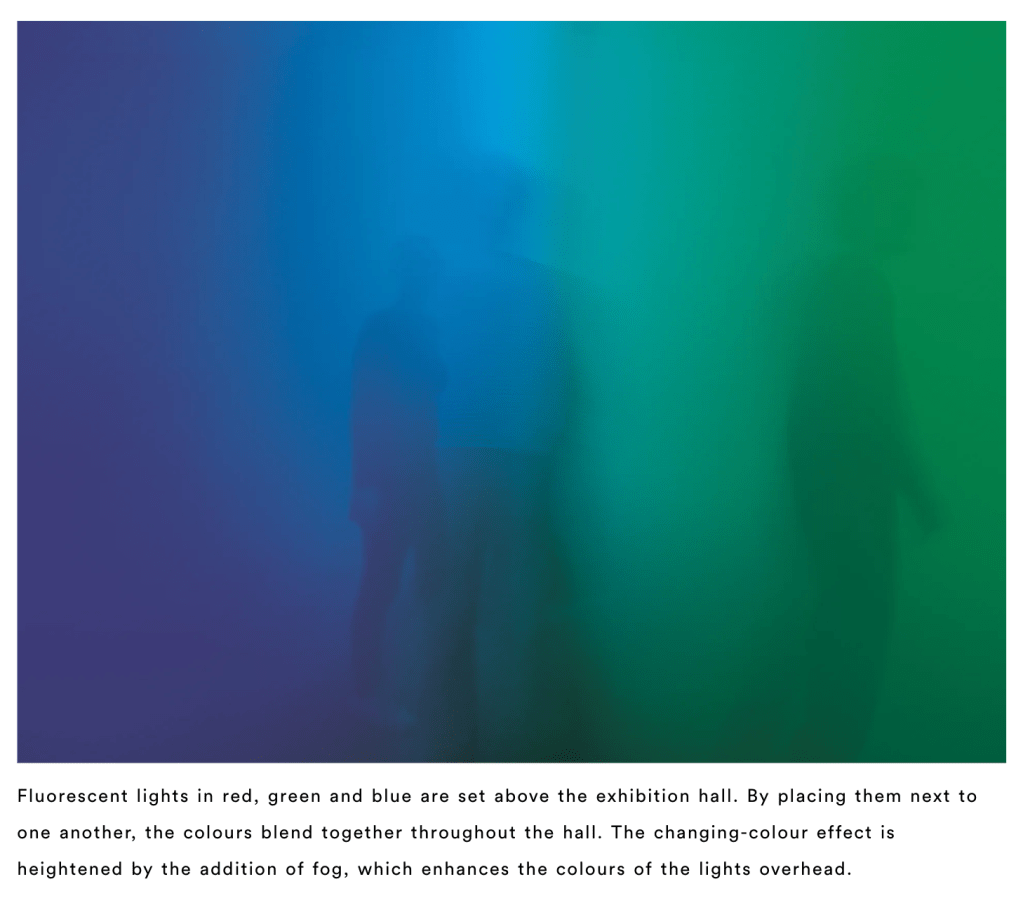
Focusing on how viewers perceive work in the area is something I want to consider in this project, how will scale and light effect how my project is viewed?
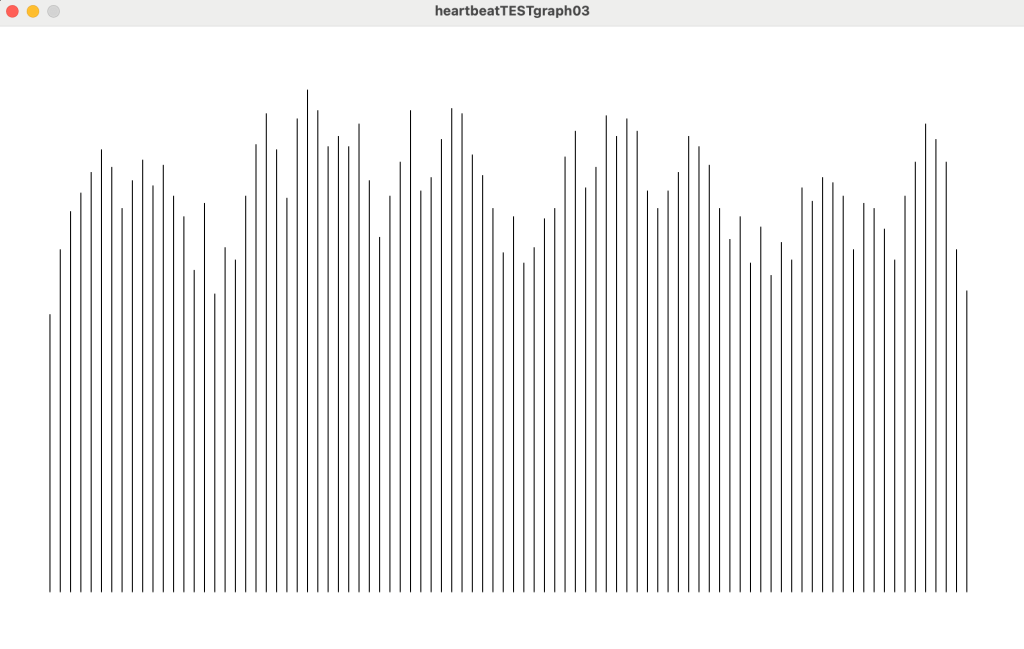
I managed to output my results to a graph, however the points are way too frequent to take to lasercutting, I have cut it down, whittling it down from around 8000 values to around 90. Essentially one for every minute.
Booking out laser cutting has seemed to be less and less promising so I have been looking into alternatives, especially 3D printing. I have been working in blender first reworking the rainfall processing sketch used in the example.
Combining both that output and this tutorial I managed to make an output using my own data, however there was a strange randomness to the values that didn’t sit well with me, the randomness takes away from the data driven nature of the project.
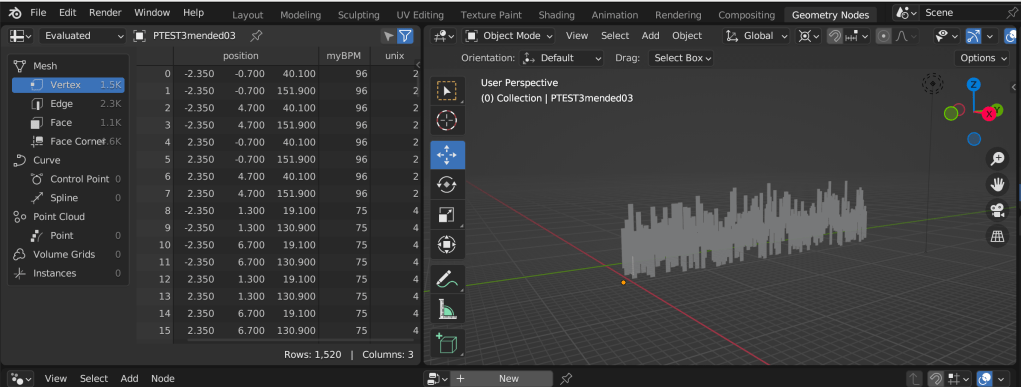
I found a very useful series on youtube called “blender for scientists”, in which this tutorial shows an addon that allows the use of CSV and JSON files which was perfect for what we need it for.

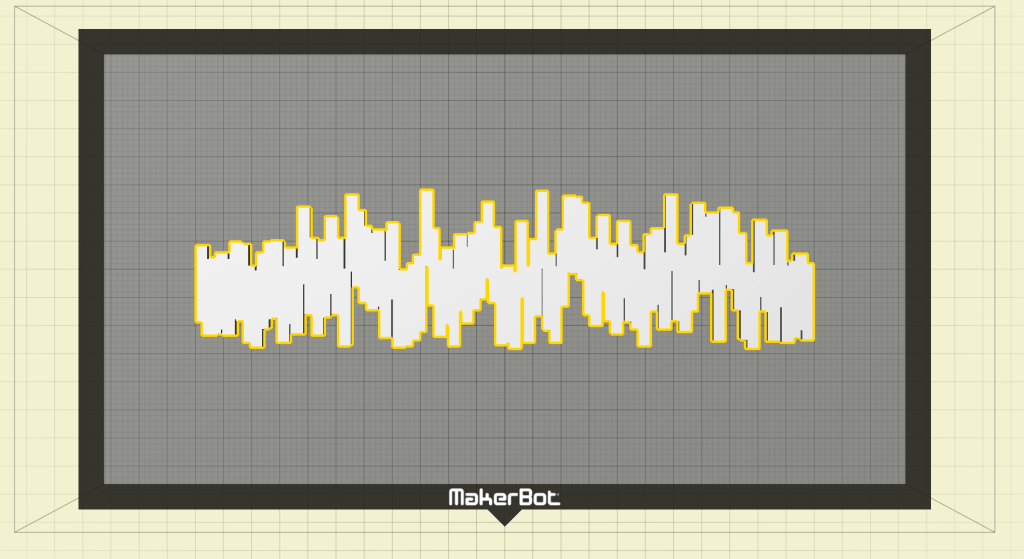
I had to do some adjustments with the values, especially unix as the larger number format that unix uses would mean that items would disappear from the viewport so having these as smaller number values that count up solved this issue. Working with instancing caused some issues as they are instanced objects they have no mesh, meaning that the stl file just saved the object that I based the instance off of.

This took a while of researching as the regular approach of “make instances real” didn’t work and ended up producing 90 separate objects all copies of the original graph.
following this tutorial I managed to get it working, finally having my files ready to print.
As my object has a lot of gaps and spaces, I laed it flat to avoid any clipping issues with the bottom plate
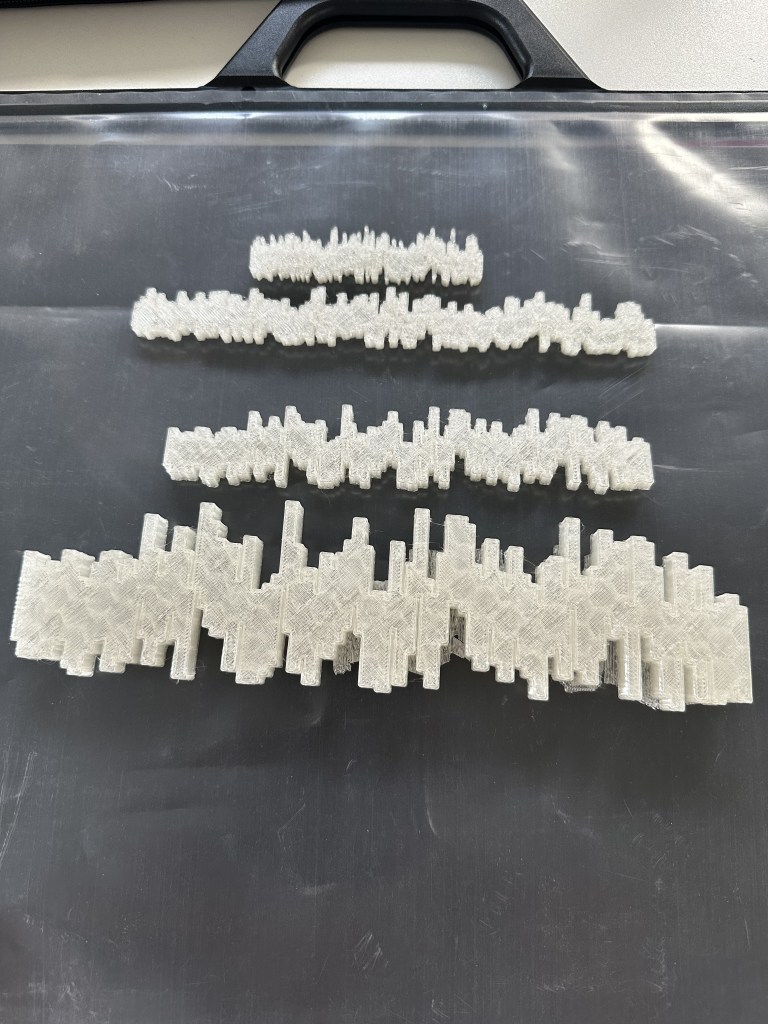
Sampling different sizes with the 3D print, reducing the values present to reduce complexity as well as scaling up to get a good feel for the time it takes to complete prints as well as the quality of different sizes. e.g the hexagonal patterns visible in the larger prints. Hopefully this wont interfere with the lighting element too much and it will still catch.
After talking to Jamie in Y4 he reminded me of the NeoPixel Uber guide to look into how to power the NeoPixels

for my strip there is 90 lights so it would be 90 x 20 / 1000 = 1.8 Amps or 90 x 60 / 1000 = 5.6 Amps
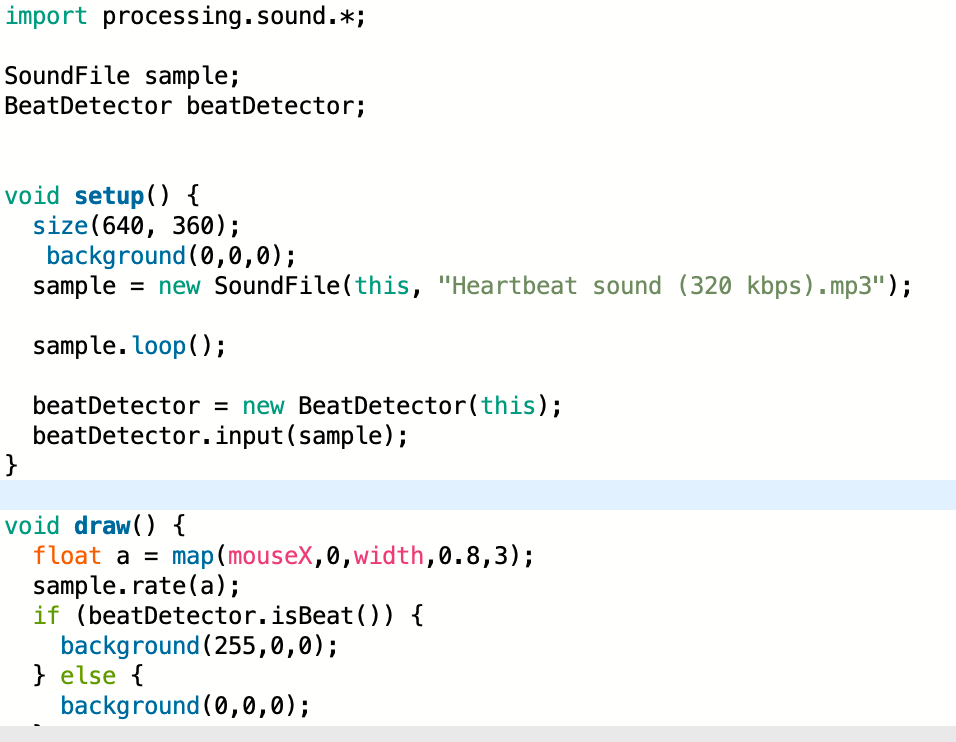
After my strips arrived I experimented with my example code for the LDR data, creating the same function but with my heart rate data.
I then, with the help of Cat, managed to get each individual LED to light with brightness corresponding to heart rate.
It took a lot of experimentation with the colours as I feel like they control in an odd way but I gave them a red/ orange hue as a rather on the nose representation of anxiety and danger.
I then however came to a slow realisation that 3D printing would not suffice for the scale I was wanting to achieve. I would have to laser cut, however the issue being that the TSD slots are so hard to get at this time of year.
I decided to prepare a file anyway using a modified version of some example processing code.
I did this with both apple watch strava data and my own pulse sensor data, to get the points, then took them into illustrator to play about with the way they are presented.
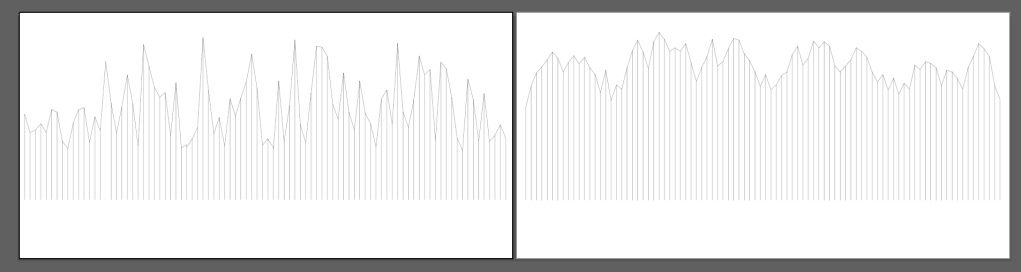
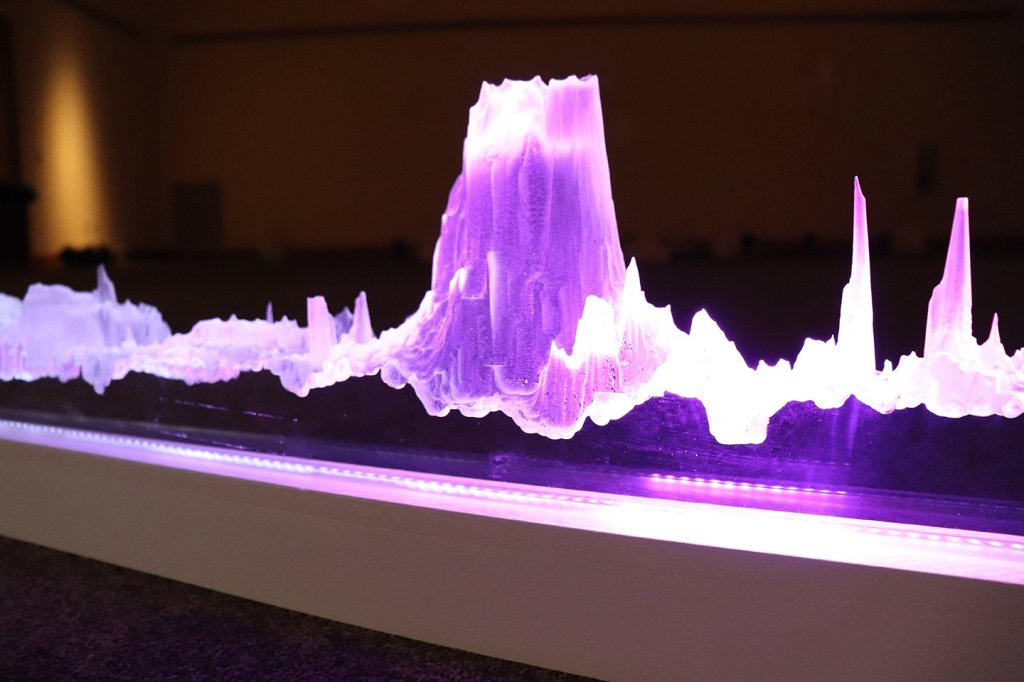
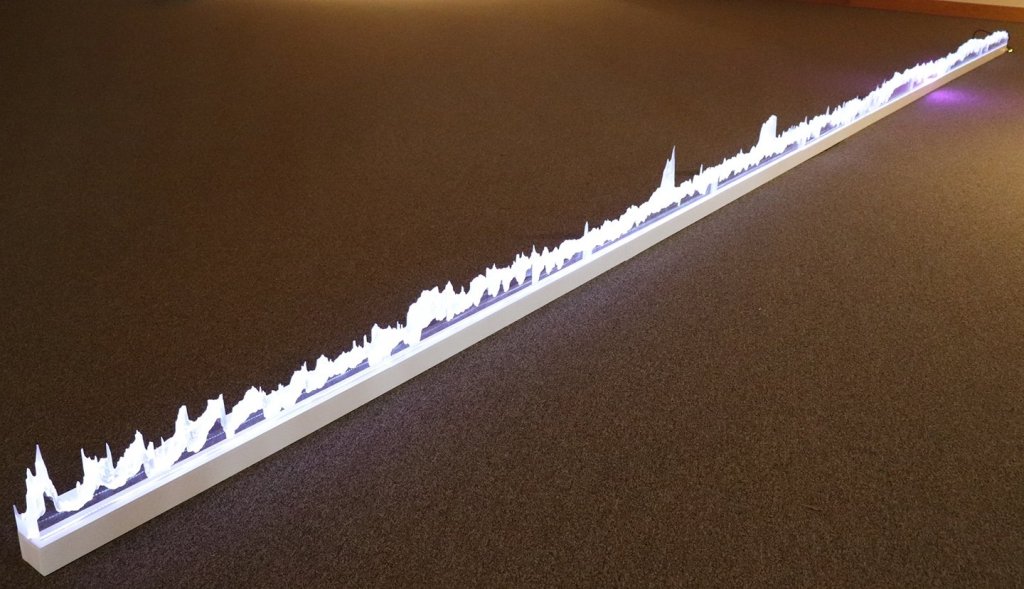
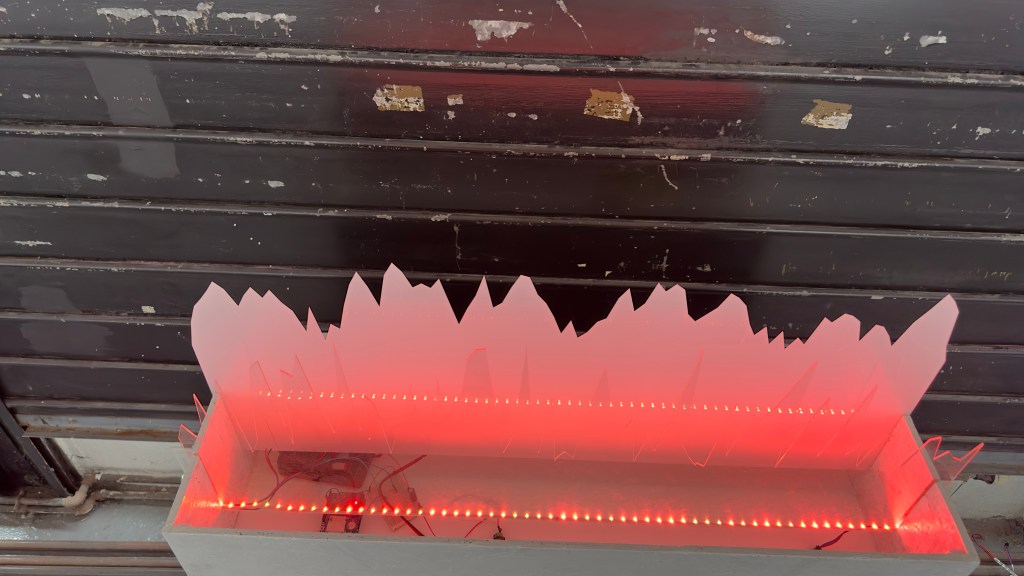
I came up with this idea to have cut out the lines at the top but then the lines in the middle would be engraved. However as the TSD is slammed I decided to go with FLUX laser cut, but their guid lines didn’t seem to allow for that and with the price these would cost I didn’t want to risk it. As can be seen the peaks and dips of the cuts are very sharp and defined, this is something I wanted to include to help bring more drama to the piece. However I didn’t think they would be quite as sharp as what they turned out to be but thats not a bad thing.
I managed to get the file on a super quick turnaround with the student discount, however it was still very pricey. I would say if I were to do it all again id get them done at GSA however, the cuts are too big for what we offer so it wouldn’t be possible.
With my cuts being a success it was time to combine both the strips and the acrylic. I decided to leave the brightness bound to the heart-rate as the blinking would take too long to fully realise. I experimented with the duration of time it took to complete a full cycle, I toyed with the data running in real time so it would take 1 minute per LED, however it ended up just looking broken, I settled on condensing it down to 90 seconds to give the viewer the idea of progress made on the ride and left it at that as I need to dedicate some time to what the cuts will be stored in.
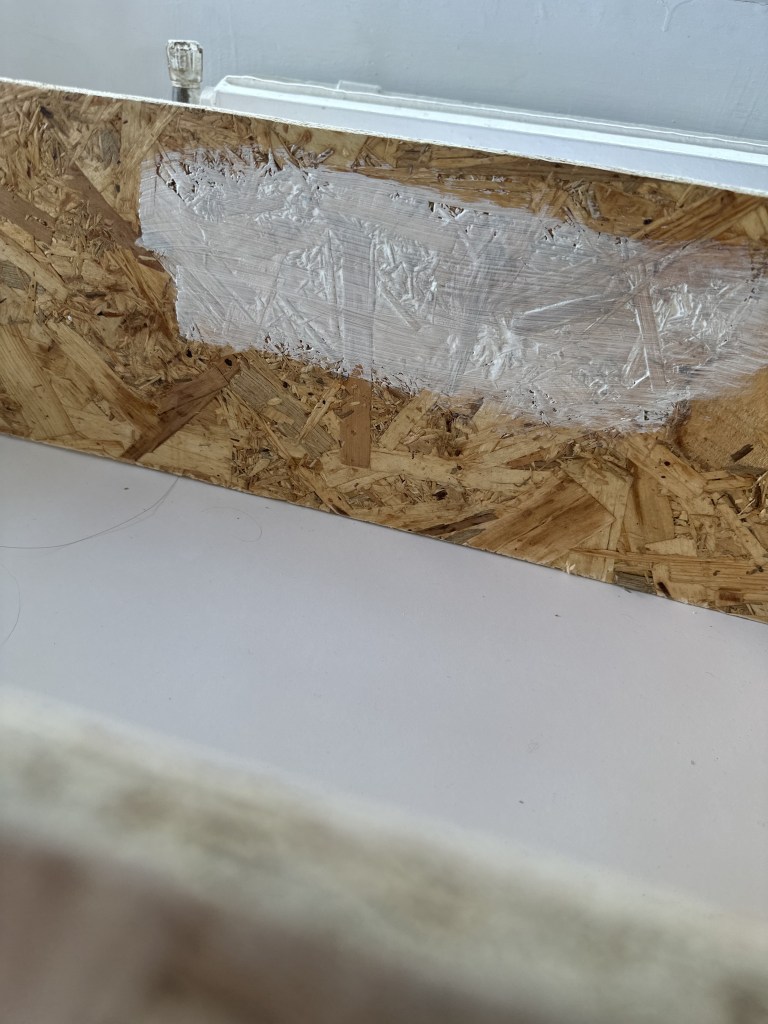
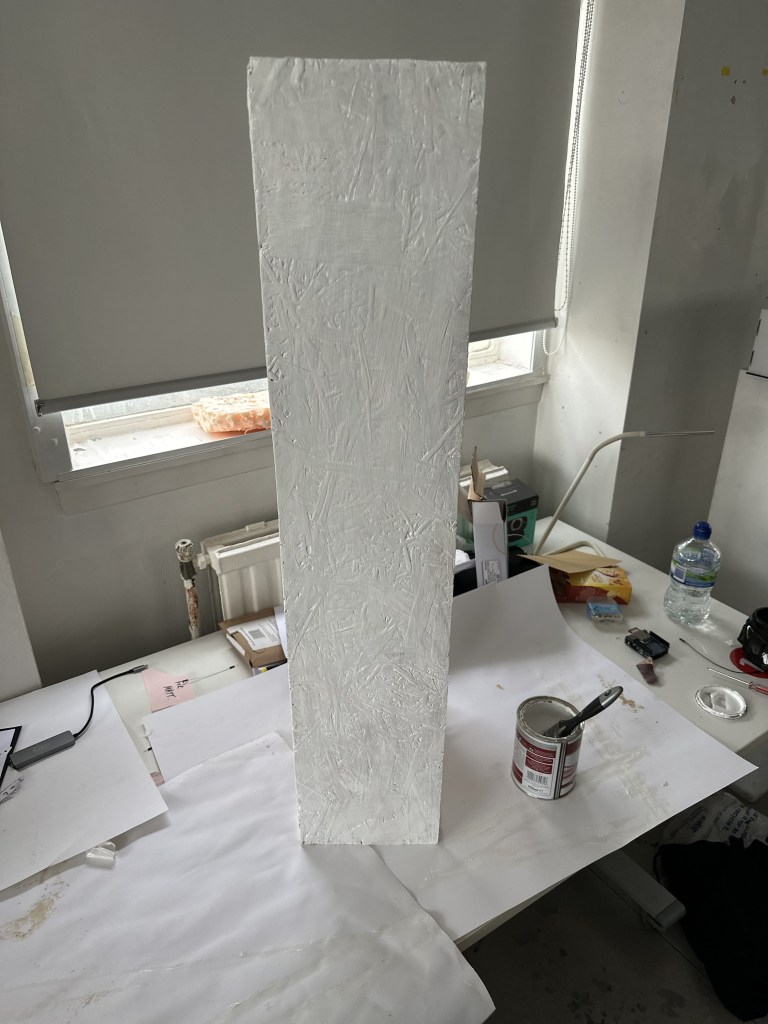
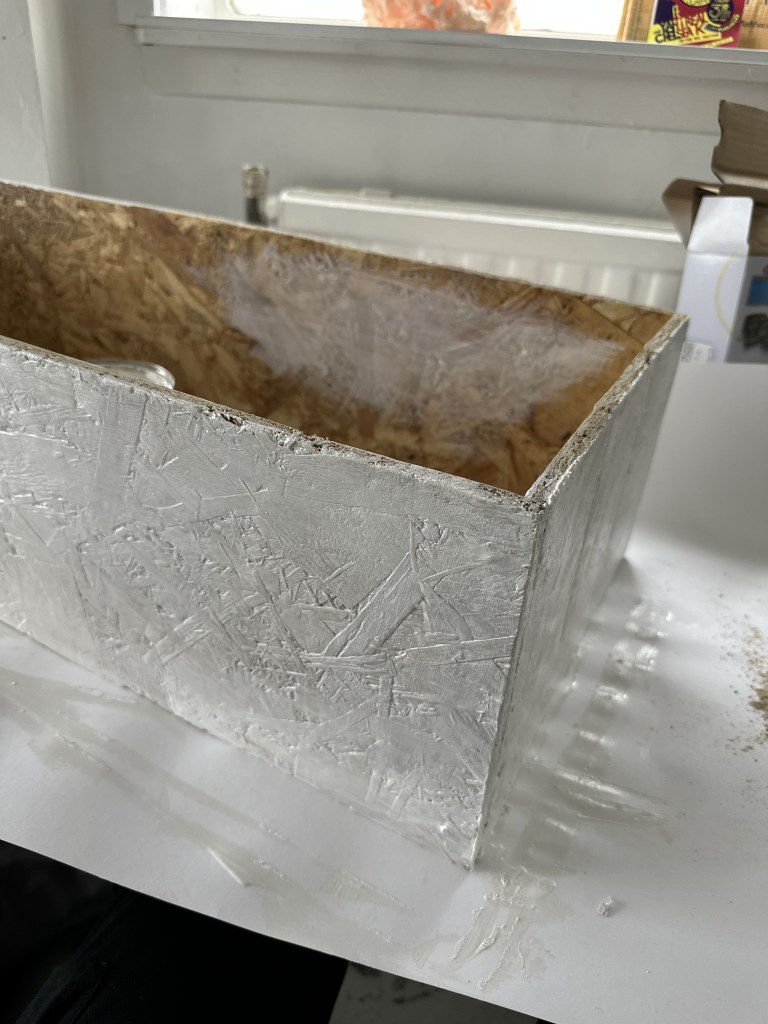
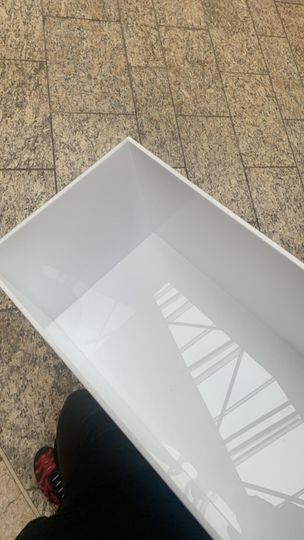
I then made and painted my stand for the laser cuts, I decided to leave the top open as a call back to the idea of hobbyist electronics and how rag tag my pulse sensor setup was, it allows the viewer to see the inner workings of the piece. It is very much anti product. The box is also made from the offcuts of the shed we store our bikes in.
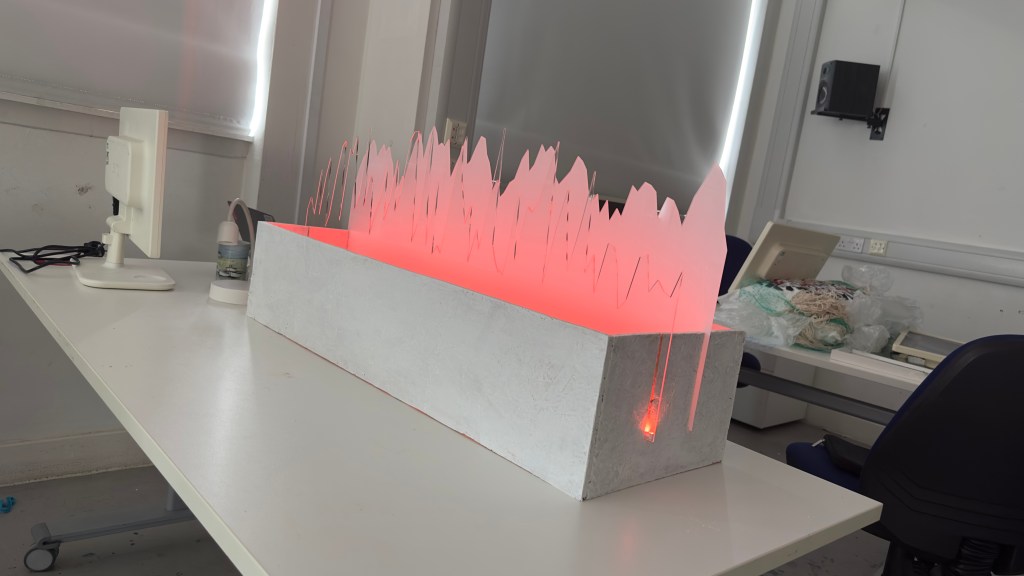

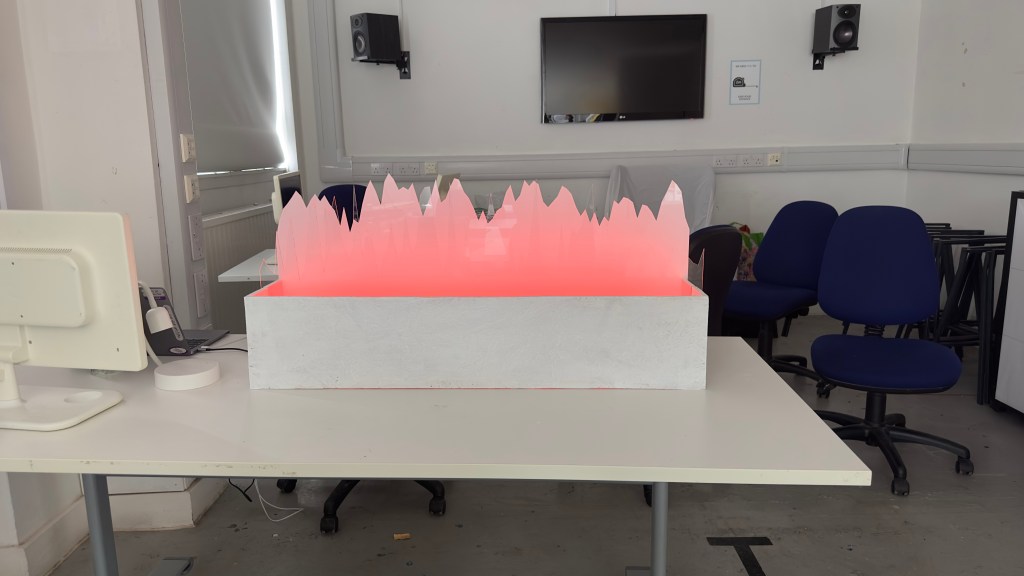

Here my work is at table level, however this is not he ideal height for my work. I want users to be invited closer and to be able to look into the inner workings of the piece, I feel like the work being lower down discourages this. I do however love the eerie red glow it produces, I especially enjoy the glow from the box itself, it reminds me of the cartoonish glow from treasure chests or even the suitcase from pulp fiction.

I however didn’t manage to get a proper photo of how high I managed to get it with the plinth I found for it. So will update with open share photos.

Further Thoughts / Reflection
This project has been very enjoyable and very personal as it is data that we have collected and especially in my case encapsulates a very specific moment in time. The idea of data has been quite a scary one for me as it is something I feel can be quite difficult to showcase without looking somewhat corporate. However this project and the outcome that myself and others have created has disproven that. It is another project I am very happy with the outcome, it has a rather menacing presence with its red glow. Taking this further I most likely would experiment more with the neopixel and also create a more dedicated plinth for the work with it extending all the way to the ground, rather than it looking like something on a plinth it is one with the plinth.
In terms of actually expanding the project I imagine there could be more devices added such as ecg as I attempted before and even more fitness devices such as the garmen and fitbit as they all produce slightly different data. This could be presented at a scale similar to that of the David Bowen work I mentioned earlier in the project running along the floor over a much larger area to give an even more unique presence to the piece
